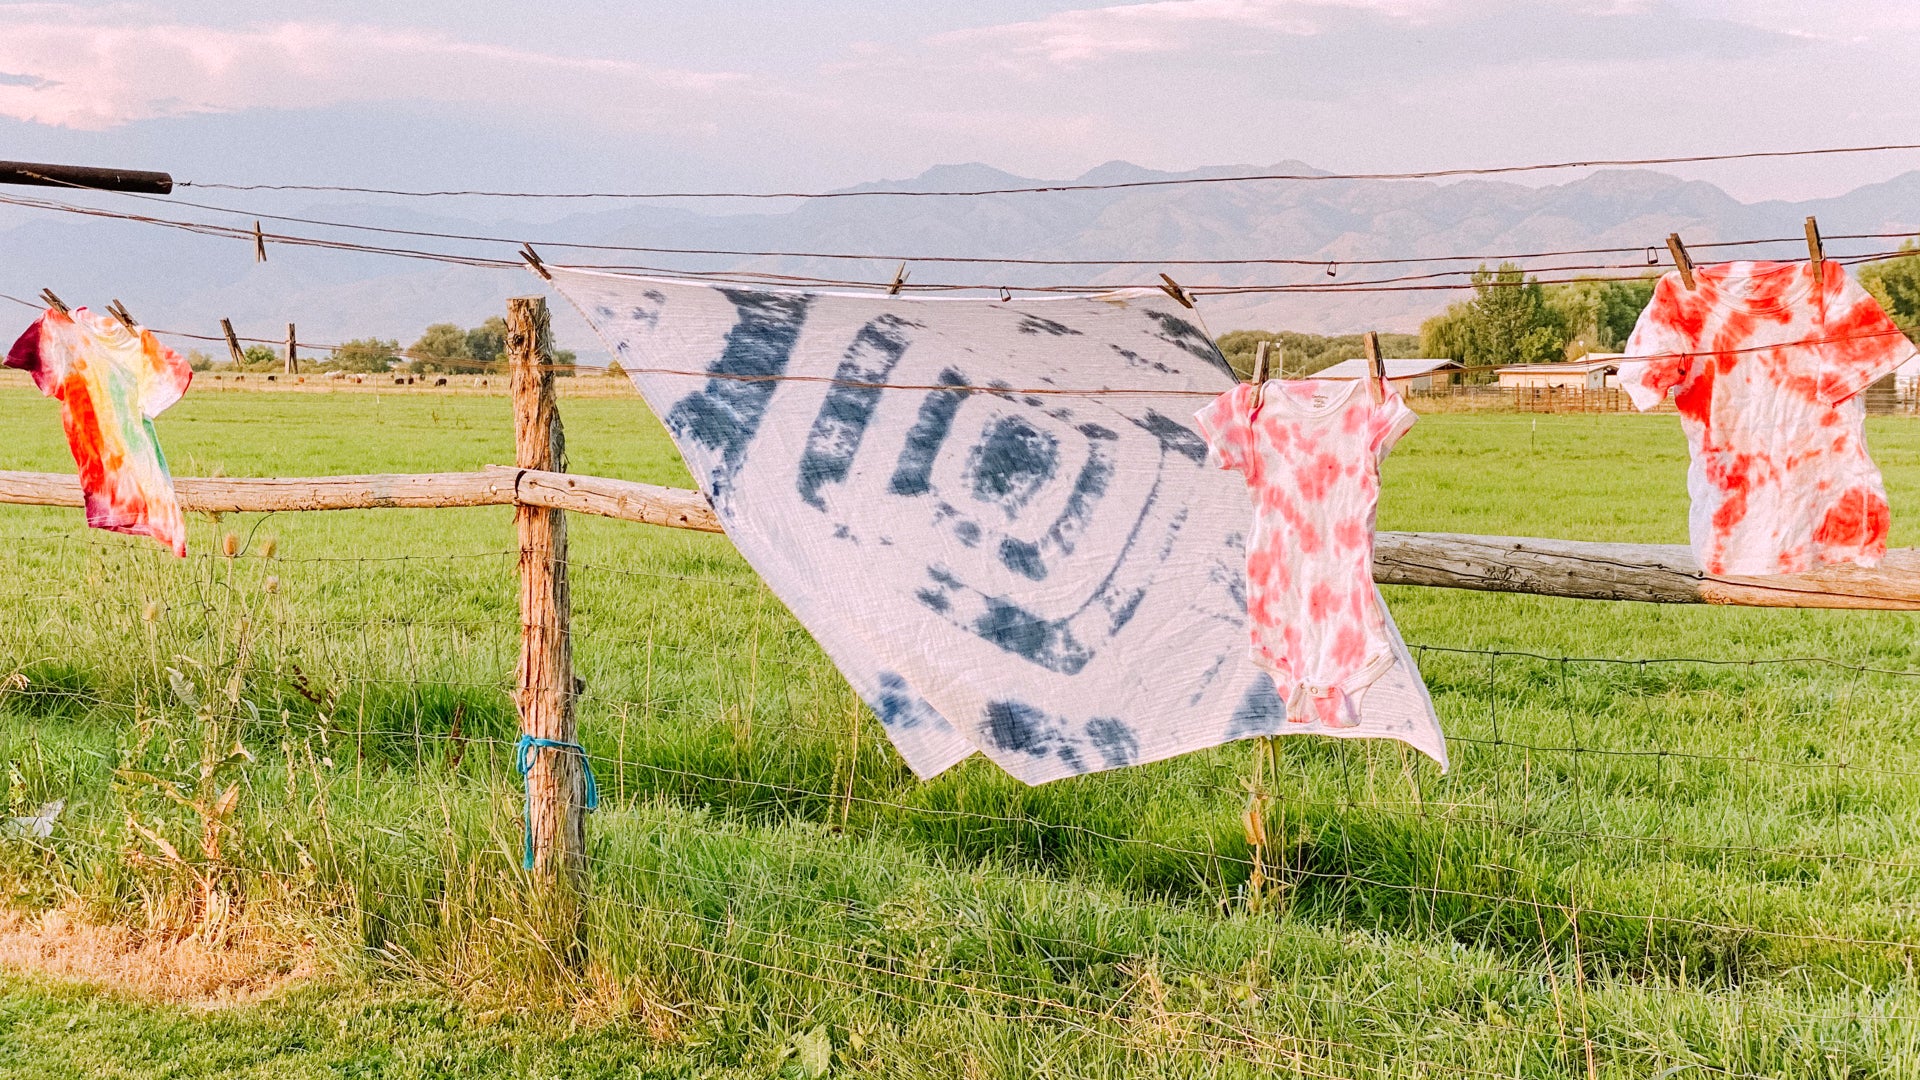
Feeling thrifty during quarantine? Tie dying is such a fun and exciting activity for older kids and a great way to repurpose an old swaddle or stained white onesie or t-shirt. Here’s how we did it.

Materials Needed:
-Garbage bags, tarp or outdoor table cloth
-White onesies, t-shirts, swaddles, pillowcases or socks
-Gloves
-Rubber bands
-Paper towels
-Scissors
-Tie dye kit HERE

Instructions:
- Set up your work surface. We recommend doing this activity outside. Cover your surface with plastic tarps, garbage bags, or an outside tablecloth.
- Pre-wash all fabrics you plan to tie dye. (This removes any residue and makes your colors more vibrant.) Grab damp fabrics directly from the washer.
- Mix your dye according to kit directions. Only mix the colors you plan to use that day. See how.
- Prep your items. Follow one of our recommended techniques below.
- Apply the dye to the fabric. Make sure the dye goes into all the folds, but try not to put colors too close together, otherwise they get muddy.
- Cover dyed fabric with plastic wrap to damp. Let it set for 6-8 hours.
- Rinse fabrics until water runs clear. Cut rubber bands if used.
- Rewash all fabrics on the hottest setting that works with the fabric you used. (Wash and dry items separately for the first few times in case colors bleed.)
Tie Dye Techniques:

Swirl
Lay fabric on your protected work surface. Pick where you would like your swirl to be, then pinch. Twist fabric around into a flat spiral then wrap with rubber bands creating wedge shapes. Apply 1 color per wedge. See how.

Crumple
Lay fabric on your protected work surface. Scrunch the fabric with your fingers. Apply the dye randomly on your design. See how.

Bullseye
Lay fabric on your protected work surface. Pick where you want the center of your bullseye to be. Pull fabric in a tube shape, then place rubber bands along the length of the tube. Apply dye to each section of the fabric. See how.


